
After a good few months later, I have managed to make a start and from following Paul's blog on his build and research into others, I have made a few changes to my original plan of action.
Since a lot of the build had been completed already, you'll find my blog is about the final build and mods I've made.
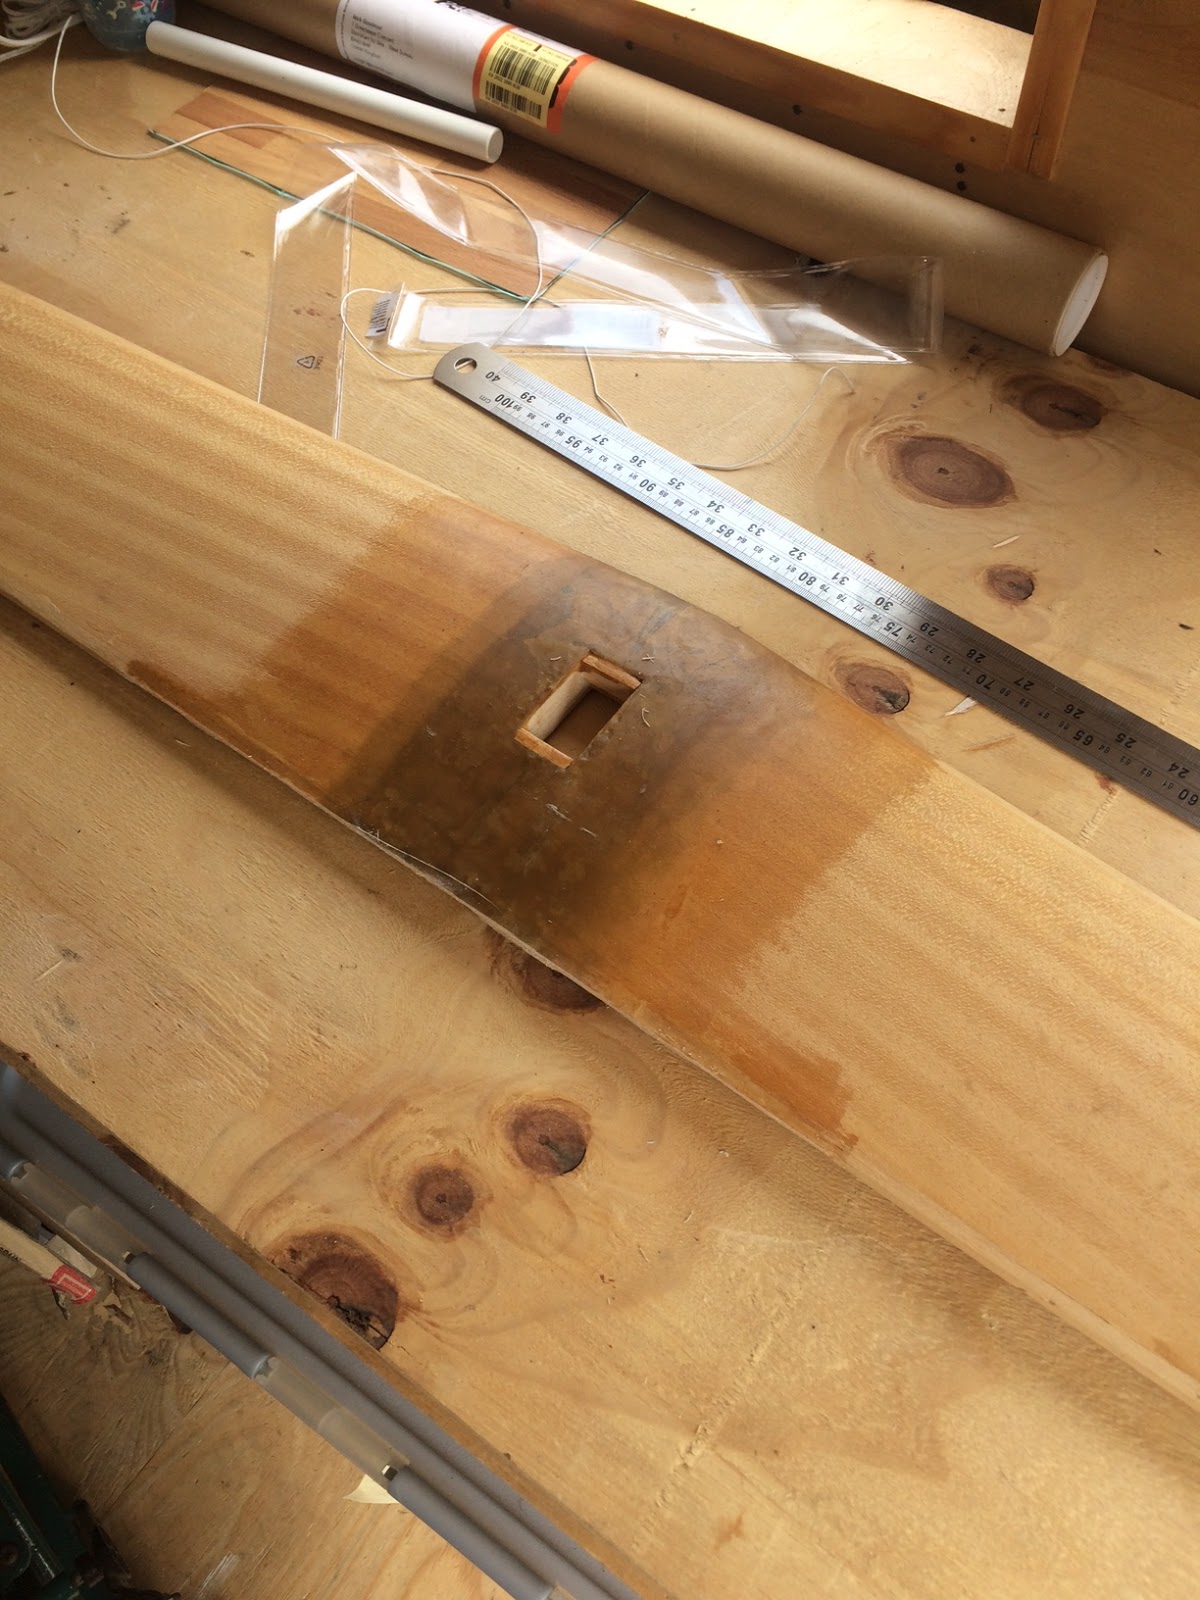
Stage 1: As you can see my wing was an early spec with the centre servo for the ailerons, here I've removed the trailing edge and balsa rear facing strip with a knife and long steel rule.

Stage 2: Here I've glued on some new trailing edge balsa facing strip and marked out positions for my four servos in the underside of the wing to operate independent ailerons and flaps.
The positions were achieved from discussion with Paul regarding his phase 6 and based on the size of the flaps and ailerons from the phase 6 instructions for optional flaps. i.e the centre trailing edge is 3" wide, the flaps are 10.5", then the rest is aileron either side of the wing.

My reason for my choice was first because I had purchased them for another model and didn't need them at present, but also due to them being in my opinion a high spec - being digital, great torque and ball raced and £13.75 each.


This maybe an overkill and not need, but I thought I would give it a go
So the servo cable cut outs where cut a bit deeper, extension leads added to the outer servos and some heat shrink applied to the connections then sunk into the cut out, 5 min epoxy over the top and the 800mm carbon tube on top and held in place with weights.

Stage 5: The servo cutouts and wing centre servo hole was in filled with block and strips of balsa, purchased from one of those bargain bundles for about £3 from sussex-model-centre.co.uk which are a great saving for all those small jobs like this.
Now the wing just needs filling with light weight filler in places and sanding.


It had been, so I continued by adding in the extra balsa former ahead of the battery to aid in preventing its movement on a heavy landing, then further fibre glassed the rest of the fuselage, back to behind the wing with lightweight fibreglass cloth and water based satin varnish.
Following this I reinstalled some new 3/8" balsa to the front top deck.


I continued to add the fin, which I had completed and added the extra fairing for a better look, I do like the way Chris Foss puts some great ideas into his designs, the back end of the fin just slots into the back of the fuselage aiding alignment and strength.
Hi Nick, Looks great what you've done and very interesting that despite having one ready-made (nearly), you went ahead and made it far better with the 4 servo approach - looks good....
ReplyDelete