
As I said I got a Zulu cos I flew Paul's a few times and I love it !!!
So I bought one from T9 Hobbysport for £37.99 plus post.
When it arrived in a massive box I was underwhelmed to say the least !
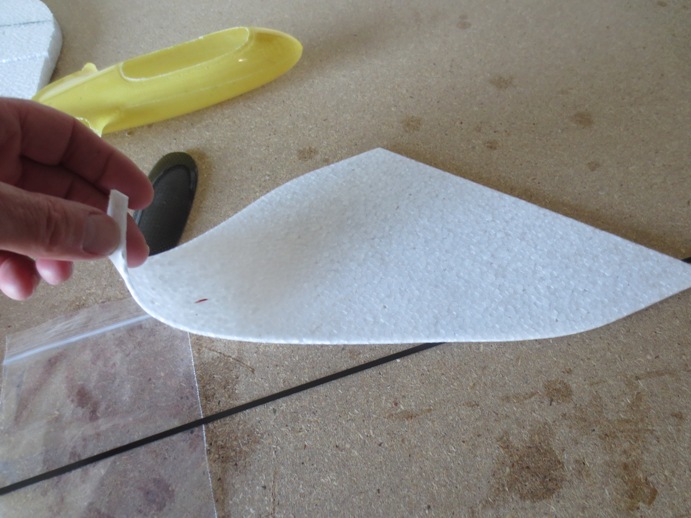
The quality of the parts is 'cheap' at best and to say that they're thin is an understatement - look at these pictures -
This is the so-called fin !


Plus there are no instructions or any way of knowing how to put it all together in the kit.
I did a search and found the build sheet for this model, but I am not happy so far with the service I've got.
Don't try to make one unless you have a lot a parts at home, cos this is lacking almost everything you need !
It will fly - I've already bought 2 servos, a new battery and some pushrods for it (they were supposed to be in the kit, but guess what !)
23rd Sept 2015
Anyway I have now cut out the holes for the recommended servos (Hitec HS85 MG), however the recommended siting for them is completely wrong ! I have put them in a place that doesn't snag the carbon wing joiner and the drooperons !
They only just fit into the wing in terms of placement and thickness - see this picture to see what I mean -


Then I put the wing halves together using a lot of masking tape to keep them together and a lot of weight to keep them down on the work bench


24th Sept 2015
I have now cut all the drooperons and elevons - however, the place where they suggest to cut the drooperons would snag the canopy when it's fitted, so I had to make a trace around the canopy to enable me to get the drooperons cut in the right place - it's very tight again ..

You can see the bottom ones in the above picture.
I ordered some dubro mini EZ connectors as suggested for the pushrod connections and here's a picture of one in place on the servo -

As you can see I've attached the drooperon horns which are totally different to those on the plans, so I had to guess where to put them (as ever).
I have also tried to stiffen that flimsy fin, but I think I might try again as it looks horrible -

Well I got my Dubro mini EZ connectors and put them into the control horns which I had to let into the elevons and drooperons - they fit almost to the top side of the EPP, so cutting has to be very careful. Also, they're different to those in the plans so positioning for height was guesswork.


I have painted a test piece of EPP and am waiting for the results before I commit to painting the Zulu
1st Oct 2015
Well I got time this afternoon to mask up and spray the Zulu - BUT those cans of paint are TINY !
Here's the masking in anticipation of a proper paint job -


So, I will go to SMC in the morning and get more paint - should have gone there in the 1st place anyway to avoid the courier hassle !
In the end I finished the colouring and had to cover it with the laminate clear heat-activated plastic which was not as easy as Solarfilm, etc... as it doesn't shrink with heat, it just sticks. It is essential to make sure it's tight before you heat it, otherwise it just folds up and sticks to itself - here's the finished (not very good) model -


It has flown successfully a number of times - it's not my favourite model, but good in a light wind and very aerobatic ...
Rob
And people say foamies are easy to put together - not 'proper' building. But this and the traceur just go to show! Have you thought about your colour scheme yet? Do you reckon you'll use sharpies or get the old foam-safe spay paint on it?
ReplyDeleteHi WIll, I already ordered the foam-safe spray - blue and orange , it comes Monday, so I can then get to make progress....
Delete